Fangame Tutorials: Mapping Routes
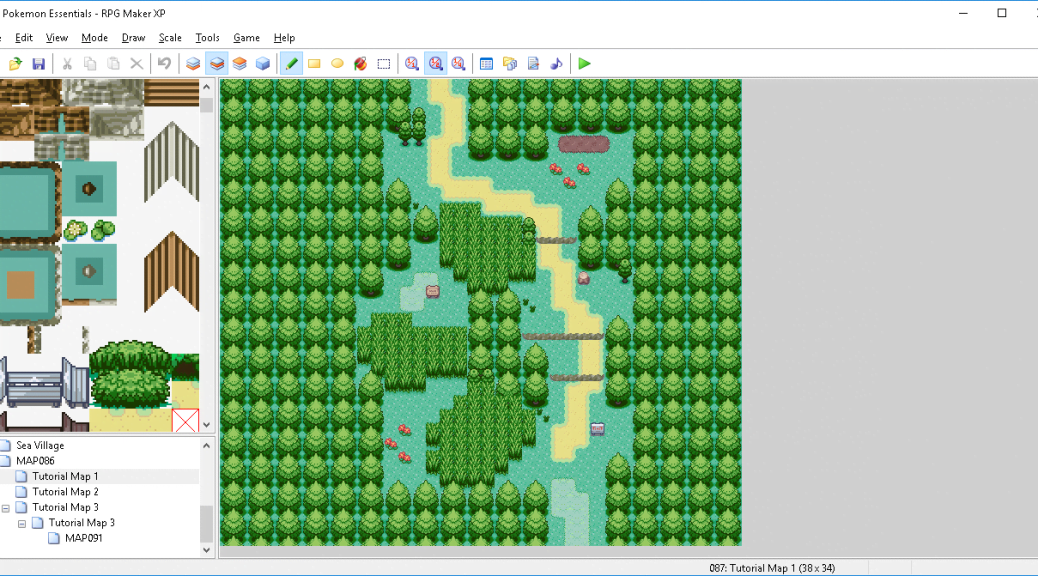
A tutorial on the basics of Route mapping, with three in-depth examples to go along with it.
Making great maps is more of an art than a science, and that fact is why I’ve stressed practice and working out your own style so much in this series and will continue to do so in the future. Despite this, there are certain scientific aspects to mapping and in this tutorial we’ll be going over those and how they apply to a variety of example maps.
We’re starting with Routes. Cities are rather more complicated and they build off of what we learn from Routes, so we’ll be getting into them in the next article. First we’ll start with a checklist of some of the features we’ll be looking for in our Routes.
- Routes should have a clear direction. We’re not making a maze. Long, winding Routes tend to end up extremely messy and cramped. This isn’t to say that your Routes should be a straight line, however.
- The width of the Route’s passable area should stay relatively consistent. For example, don’t give the player a 7-tile-wide first section only to force them through a one-tile-wide hole to enter the second section. Abruptly changing the width can ruin the flow of the map.
- Place tiles in realistic locations. Implausibly placed tiles can all but ruin an otherwise good map. When placing natural objects, ask yourself “could this object realistically grow in this position?”. When placing man-made structures, ask yourself “would a human have a reason to build this here?”. If the answer is no, do not place the object there.
- Mix in some details. Lines of trees and grass get repetitive and boring fast. You can mix things up by adding elevation, smaller trees, offshoot paths, flower patches, and much else.
- Never forget that the purpose of Routes is to gain levels in between cities. As such, your Routes should either force the player through tall grass, or force them into Trainer battles. Some good maps will do both, but no good maps will do neither. A Route that can be walked through without battling anyone is a waste of the player’s time.
- Pick a style and stick with it. There are many alternative ways of making Routes. A simple example would be Game Freak styled trees (where trees are arranged in rows) vs. natural style trees (where trees are scattered). Both of these are valid, but it’s important you choose only one for your map. Mixing styles in this way often looks bizarre.
Now that we’ve had a look at the core concepts, we’re going to explore three example maps in detail. I’ll break down the process of mapping each one and show how the principles above apply. Let’s get started!
This tutorial assumes you’ve already read the introduction to Pokémon Essentials tutorial and have learned how to use layers and other basic mapping functions. If you need a refresher, check out this article!
