
Fangame Tutorials: Mapping Routes
A tutorial on the basics of Route mapping, with three in-depth examples to go along with it.
Example One: An Early-game Route

Our empty canvas is 26 tiles wide and 34 tiles tall. This will be a relatively simple Route that will appear near the beginning of the game, perhaps connecting the starter town and secondary town.
As such, we won’t be pulling out anything complicated just yet, but will settle for a simple two-path layout with ledges to force the player into tall grass on their first trip, but allow them to skip it on the return journey.
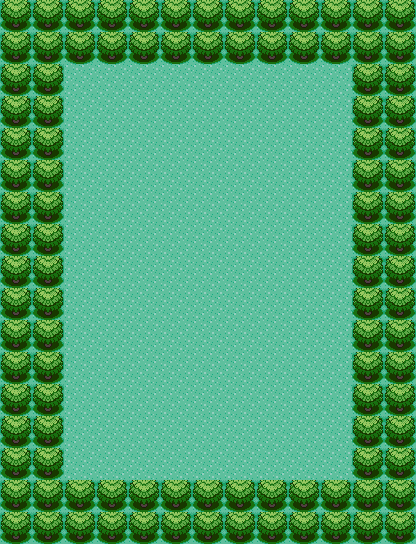
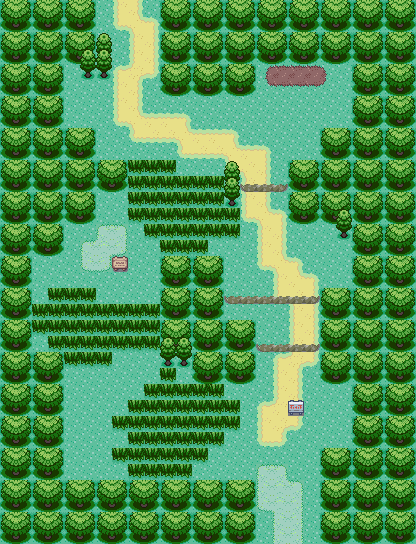
Laying out an initial border of trees will help us visualize the shape of the map. It’ll get a lot more interesting soon.
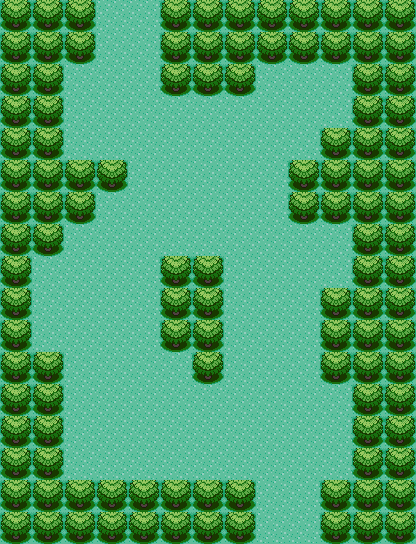
We’ve created our two paths! The left path is slightly longer and more rounded, and this is where we’ll put our tall grass to force the player through. The right path is more direct, because the player will use it to return to the starter town later while bypassing wild encounters.
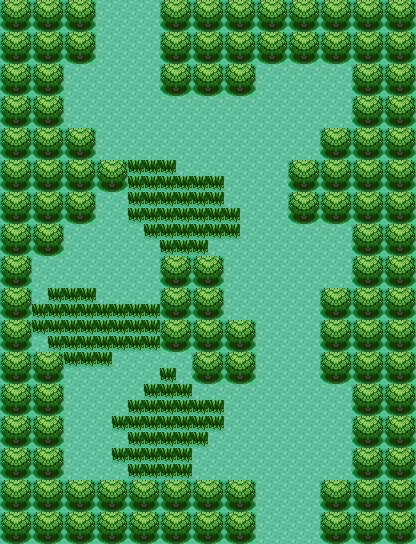
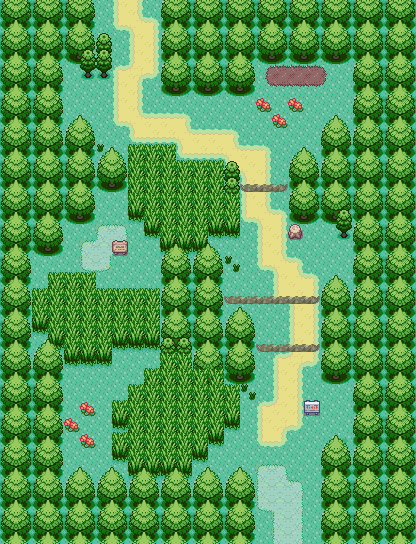
Now we have our tall grass! I’m using the long grass from Third Generation Hoenn as my main grass tile, but your choice of tiles is of course up to you. Check out the original tutorial linked above if you need a refresher on tile inserting!
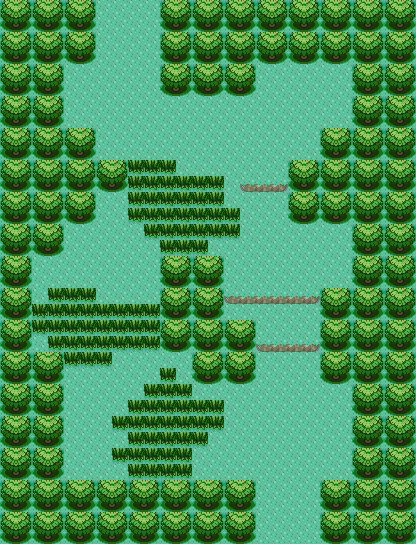
Now we’ve added our ledges for the return trip. By now, we have the map’s layout pretty much done, all that’s left is to pretty it up. Let’s add some paths, signposts, and smaller trees!
Because this is an early game Route, we’ve included a wooden Trainer Tips sign that the player will see on their first trek through the grass, as well as a metal sign with the name of the Route.
Note the paths too – they’re a great way of decorating otherwise bland flat grass and can be used to create a focal point because of how their colors contrast with the surrounding nature.
Now we’ve fixed up our trees and tall grass and shaded them properly. There are also a few more decorations scattered around to add visual interest – a stump, flowers, and some grass buds. If you feel your map has excess empty space on the sides, try adding small natural tiles like those. Just make sure you follow the rule about realistic locations mentioned on Page 1 – don’t put tiles in places where they could never conceivably appear naturally.
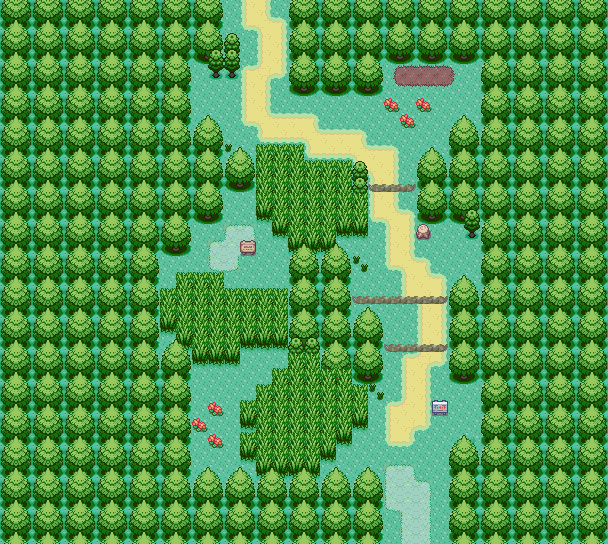
What’s this? The map suddenly got wider?
We’ve added some extra rows of trees on the side to pad the map. The player can see 8 tiles to the left or right, and 6 tiles to the top or bottom. Unlike AdvanceMap, RPG Maker does not allow us to set border blocks on our maps, so we need to make sure the player won’t be able to see the black space off the edge of the map.
Remember that you can shift your map in any direction by pressing Ctrl + T if you need to generate extra space to pad the edges.
And with that, we’re done our first map!