
Fangame Tutorials: Mapping Cities
Building off the Route Mapping tutorial, we’ll take a look at the tips and tricks for creating your own city maps, along with three in-depth examples.
We’ve made it past the first hurdle of learning to map, and that was learning about mapping Routes – go read the tutorial here if you haven’t. In this follow-up tutorial we’ll build upon the concepts we learned, but also introduce some new rules that apply exclusively to mapping cities. Let’s have a look over our second checklist.
Note that, for lack of a more general term, when I say cities I am referring to anything from a starter town to a bustling metropolis.
- Base your city’s layout off of its theme. Modern metropolitan areas are generally laid out in clean grids. Farming villages generally have plenty of space between houses and barns to allow the animals to graze. Old towns often have a disorganized layout connected by grassy paths worn from years of use. By no means does every city have to be clean and organized, so do your research and put some thought into what layout is best for the type of city you’re trying to create.
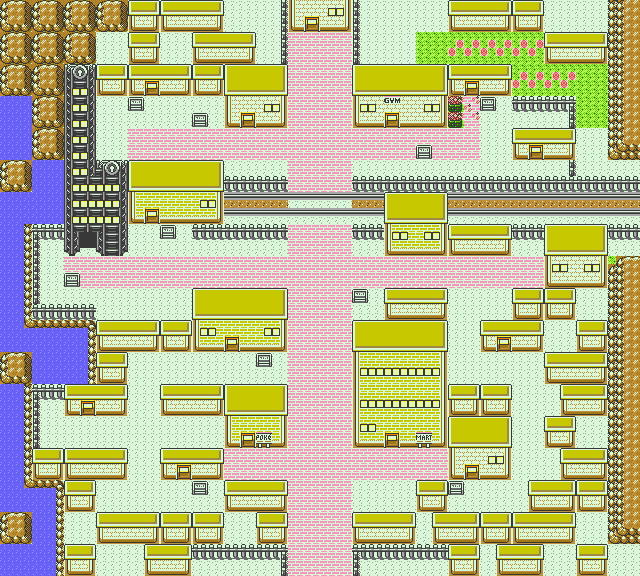
- Logically position the key buildings. Real-life cities don’t put their town hall off in an outskirt somewhere hard to reach, and nor should you. Important buildings like department stores, corporate offices, and city halls should be central and be easy to access. Have a look at Saffron City and Celadon City for good examples of this.
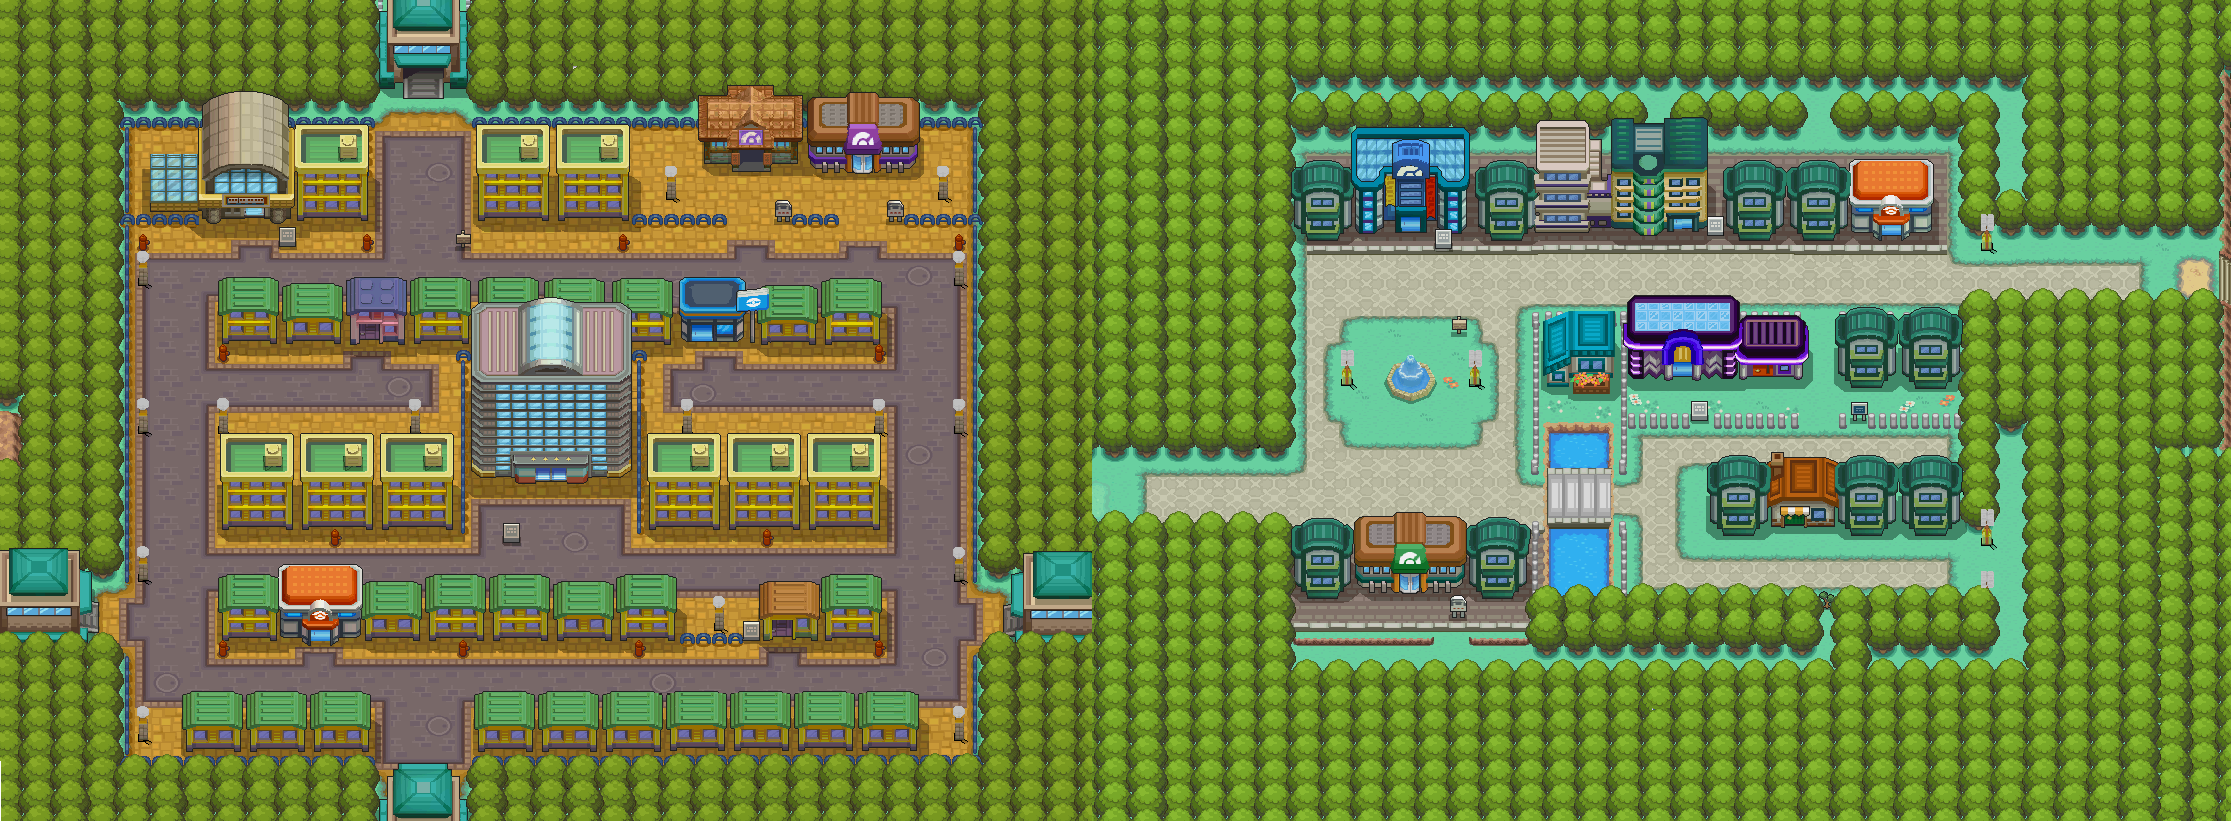
- Your city should be easy to traverse. Don’t force the player to walk through a maze of houses or back yards just to cross from the entrance to the exit. Some players like taking time to explore every nook and cranny, some do not, and they shouldn’t be forced to. This isn’t to say that you can’t have complicated layouts, but reserve them for side areas of the city – the player shouldn’t need to cross through them to progress. See Goldenrod City for a good example of this.
- Create natural surroundings before placing buildings. You may already have picked this up from my Routes tutorial, but it’s always a good idea to lay out the surrounding mountains and trees before starting on the actual content of your map. This is even more important for cities – placing the buildings and other man-made objects before the natural surroundings gives the impression that the environment is tailored to suit the city; in all real life cities, the reverse is true.
- Consider the free space you have available. When laying out the natural surroundings of your map, keep in mind that buildings in Pokémon games are relatively large and can easily leave no room for paths and decorations, if you don’t take their size into account when planning your map.
Now that we know the drill, it’s time to once again have a detailed look into three example maps that will demonstrate how we use these concepts when mapping.