
Fangame Tutorials: Mapping Cities
Building off the Route Mapping tutorial, we’ll take a look at the tips and tricks for creating your own city maps, along with three in-depth examples.
Example Two: A Medium-Sized City

This map is fairly large. Even though our final city won’t end up being huge, we’re going to need quite a lot of free space to install a proper road system. In the starter town example, we placed down our buildings first and then built roads to connect them – this is fine for small towns where the path needn’t be particularly organized, but for a medium or large city we want a proper grid of rows, and the best way to do that is to place the road before the buildings.
First though, let’s start with the natural layout.
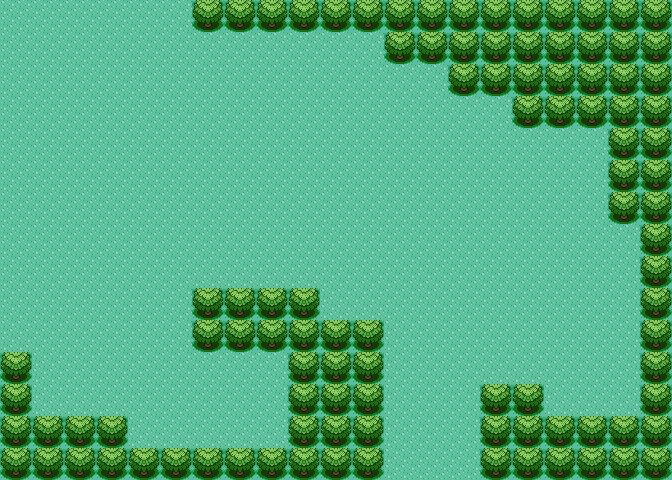
We won’t end up actually using nearly this much space, but it’s important to give ourselves plenty to start with. You’ll quickly notice the empty left side, where we’ll be putting a cliff’s edge and a lake the player can cross via a bridge.
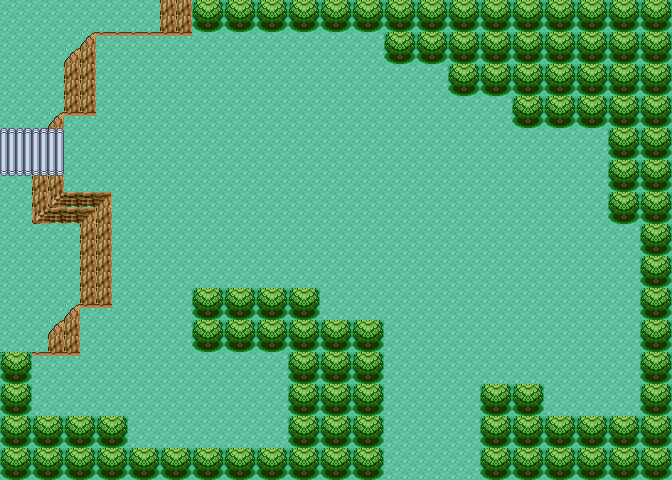 The aforementioned cliff edge and bridge have been placed. This has essentially wrapped up our work on the natural layout, though we’ll be playing with the trees a bit more as we place our buildings shortly. Let’s put some roads down.
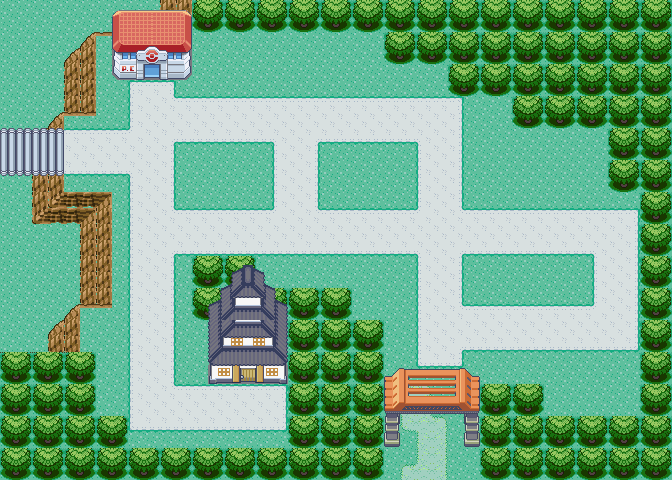
It’s not a perfect square – or a square of any description really – but that’s fine. As our cities get closer and closer to being large metropolitan areas, we’ll want to make our grids more and more square and organized, but for a medium-sized city like this one, an irregular grid is still acceptable. We’ve also placed down two buildings, which could be said to be the most important buildings in the town.
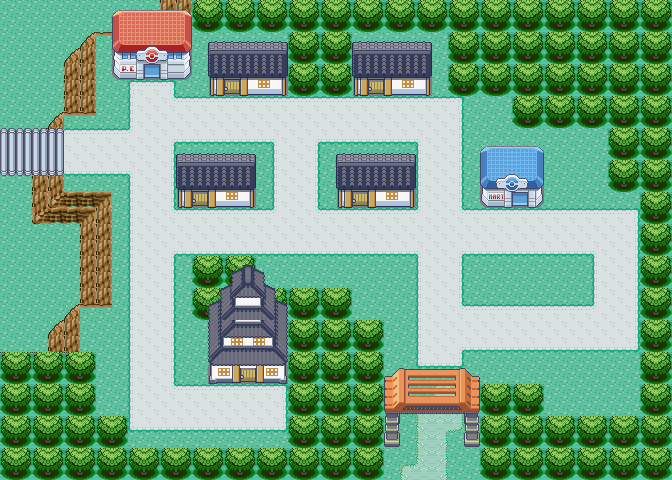
Now all of our houses have been placed on the road system. For a medium-size city, three to five houses is most ideal, anything less gives the feel of a small town. Note just how much space we have left to fill in; there’s plenty of room for decorations in a city like this.
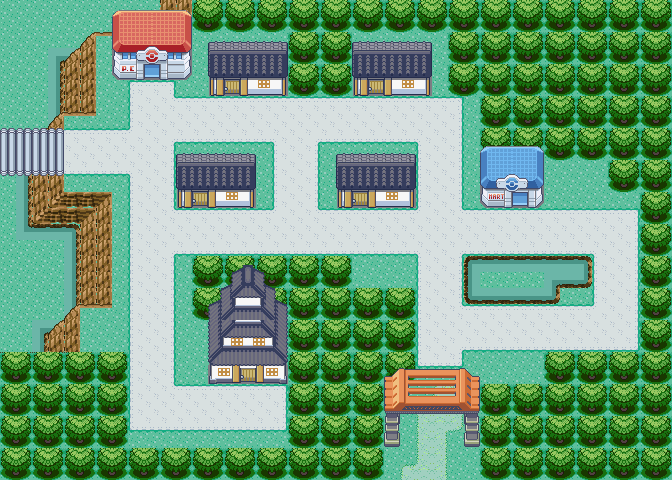
We can’t start placing those decorations just yet, however. Before that we need to adjust the trees to reduce the amount of free space. We’ll add some between the northern houses, along the southwest cliff, and in the southeast clearing to fill it up. We’ll also throw in a small pond in the empty plot to fill it up – don’t be afraid to put natural or irregular objects in plots that won’t allow for buildings.
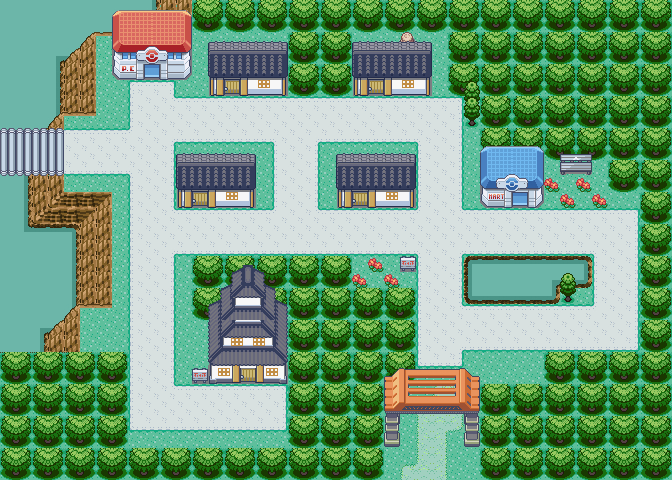
Two signs have been placed – one next to the city’s primary building, another centrally located that will contain the city’s name and a short description. We’ve added some minimal decorations like flowers and filled in the pond, so let’s wrap up by adding the rest and finishing up the trees.

We’ve added a lot in one step here but it’s not too different from our final steps in previous examples, so you should have a pretty good grasp of the finishing touches normally placed onto our maps. A few worth noting are the two benches on opposite ends of the city – a good decoration to place in otherwise empty ~3×2 areas in your cities.
We’ve also placed a stack of two boxes next to the city’s central house, as if the inhabitants had just moved in and not finished taking everything inside. This is another technique for filling up space but should be used sparingly – if used more than once in an area it can destroy the player’s suspension of disbelief.
Besides those two everything else done in this step has been shown in previous examples, so let’s jump straight into The Big One: A Metropolis!