How To Make Your Maps Stand Out!
Do you want to diverge from the trend of fangames having bland, boring maps? Learn how!
Pokémon fangames are a popular thing among the community, and most users try to make their own. However, many of these projects can suffer from several issues; one of which is poor mapping. The quality of maps can make or break a game – if your game’s areas are bland or confusing, people will likely be less motivated to play your game. How does someone improve at creating maps? Whether you are a ROM hacker or you use RPG Maker XP, keep reading to find out! In this article, we will focus on route creation, but most principles should apply to other maps as well.
It should be duly noted that any methods shown are not written in stone, and it is not required to live by anything in this article. Everything is subjective. With that said, let us begin!
The Basics
The first thing you should do is find a tileset that you like. Of course, make sure that you have permission to use it! For this tutorial, I will be using my own personal set of custom Pokémon FireRed and LeafGreen-styled tiles, but feel free to follow along with any arsenal of tiles that you wish.
There are a couple things you should note as you plan out your map. The most important thing to consider is whether or not the borders are big enough. In RPG Maker XP – a popular choice for Pokémon game development, if the player gets close enough to be able to see outside the map, they will see a black void. The general rule of thumb is that, by default, the player can see five and a half tiles up and down, and seven tiles left and right. In ROMs, however, this can be fixed by assigning a correct border block; instead of a black void, the player will see a loop of the chosen tiles.
Since that has been noted, it is time to figure out what you want to do with your map. “Winging it” can result in a very inconsistent or messy map. Figure out some of the land features, and how you want the player to progress through this location. Once you have figured this all out, it’s time to start mapping!
The Design

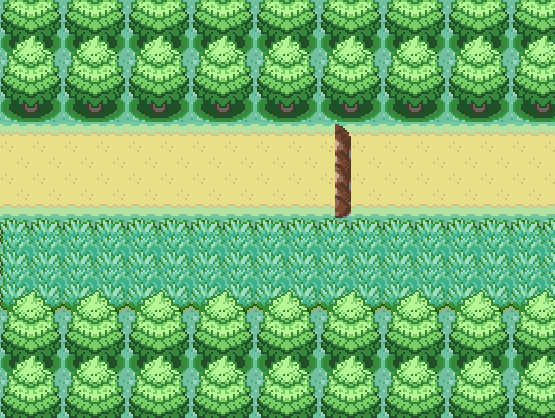
To begin, I am going to start with a very basic map. The idea is that the player will enter from the south, then proceed upwards before turning right and advancing through the rest of the route.
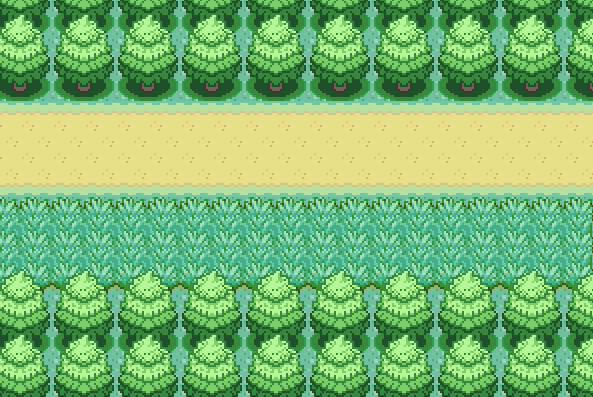 However, with such a bland route, what separates one section of the route from another? At the moment, there is no answer to that. The player will not want to drone through such a pointlessly long path, so we should spice it up!
Any route can benefit from tall grass; it gives the player a reason to go there even if the plot does not force it. However, this still gives no reason for the player to not drone on in a straight line. Ledges are fun to use in these situations – they help break up the linearity without having to change the layout very much!
 With this ledge, the player is forced to cross the tall grass as a detour, but they can still return to the previous town easily. This gives the player something to do, and it also lets them discover just what is available to catch on your route! However, even with this ledge, our map is still missing anything to really make it stand out and be interesting to the player. Adding Trainers is a bit of an artificial way to accomplish this – which, while not wrong, is not what we are here for.
Right now, our route is very linear. You essentially just walk in a straight line, despite the fact that you must take a detour in the tall grass. Perhaps we should allow the player the ability to diverge from this path, and maybe reward their exploration?

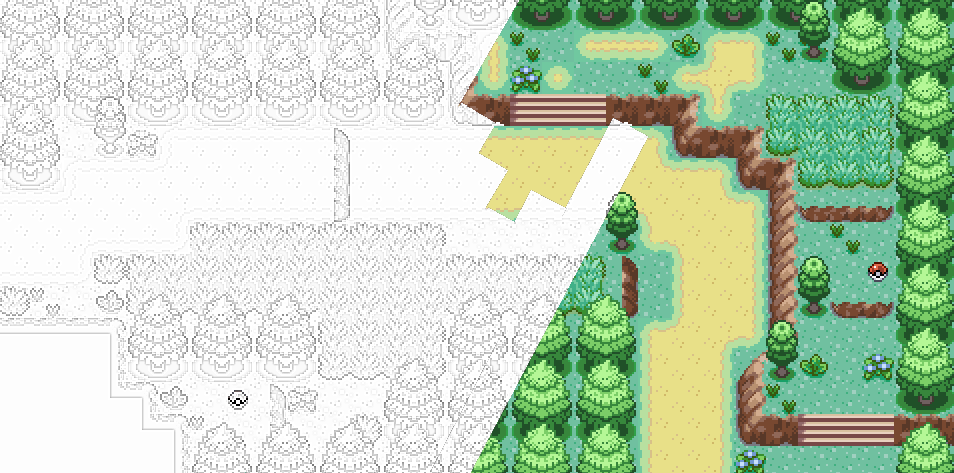
Now, our route has some optional areas. If the player chooses to pass through these (and they have the proper HM, if necessary), they can find a reward in the form of a (possibly rare) item. Not only does this open up opportunities for exploration, but our map just looks nicer and more polished! Keep in mind that if you have an Poké Ball tile available to you, this is not what it is used for. Rather, you want to create an event that uses that sprite.
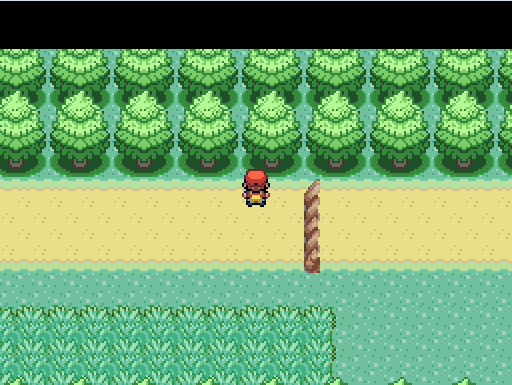
 Finally, if you plan to add Trainers onto your route, you should consider where they would stand. Right now, there are no ideal places to put a Trainer, because if we want them to be mandatory, they could potentially be standing off-screen until they notice the player. We should create some more narrow pathways so that Trainers can stand in a good spot for battle. This is another good function for ledges.
As you can see, we now have a narrow corridor for Trainers to notice the player within a reasonable distance. The ledge provides a natural barrier that allows the player to not get too far away from the opponent, so they do not walk up from off-screen. However, this is only for Trainers you wish to make mandatory; for optional trainers, it is perfectly okay to allow them to be skipped.
Our map looks very nice right now, and it is functional. However, there is still room for improvement. Let’s touch up our map a bit more!
The Finishing Touches
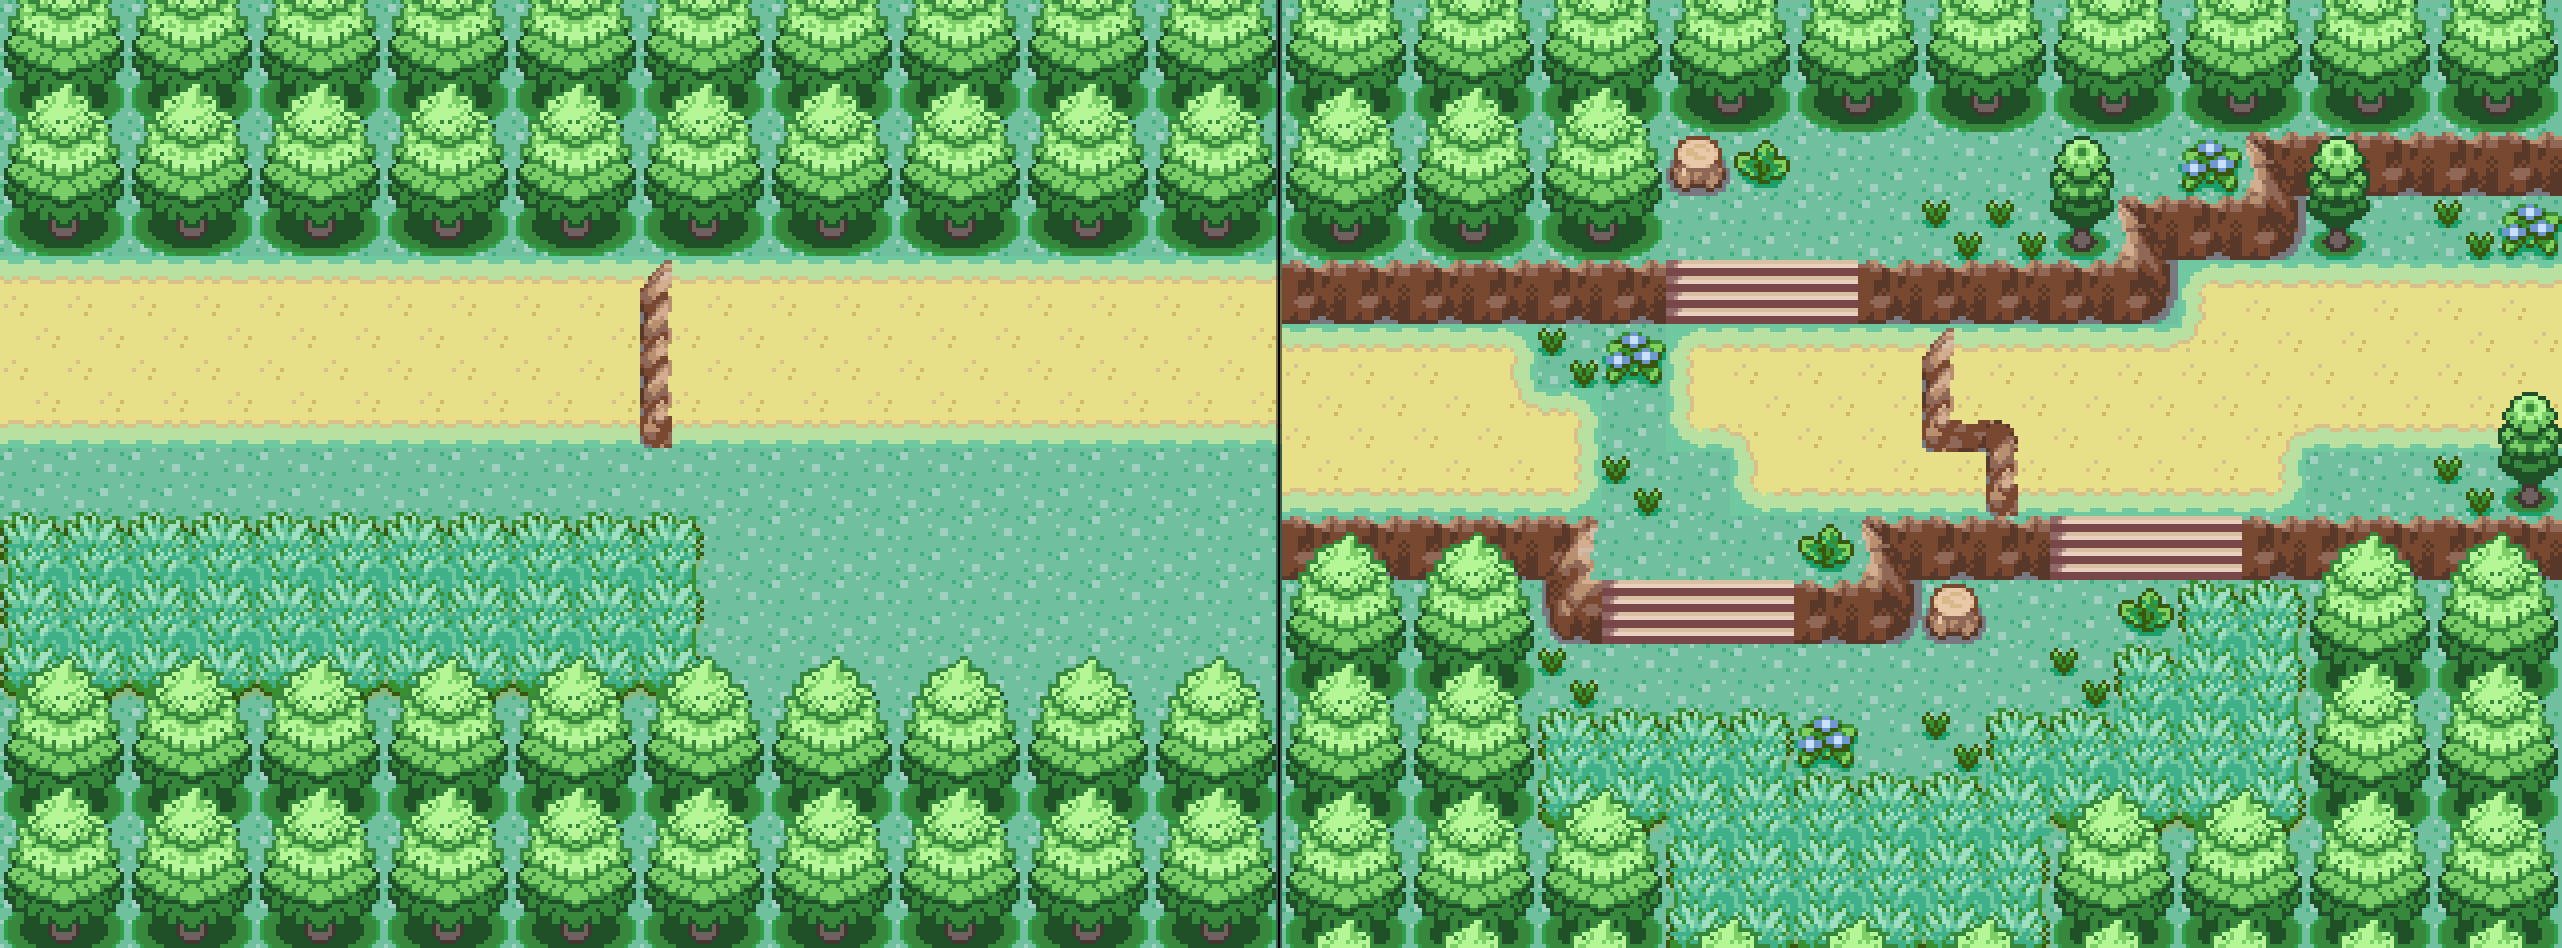
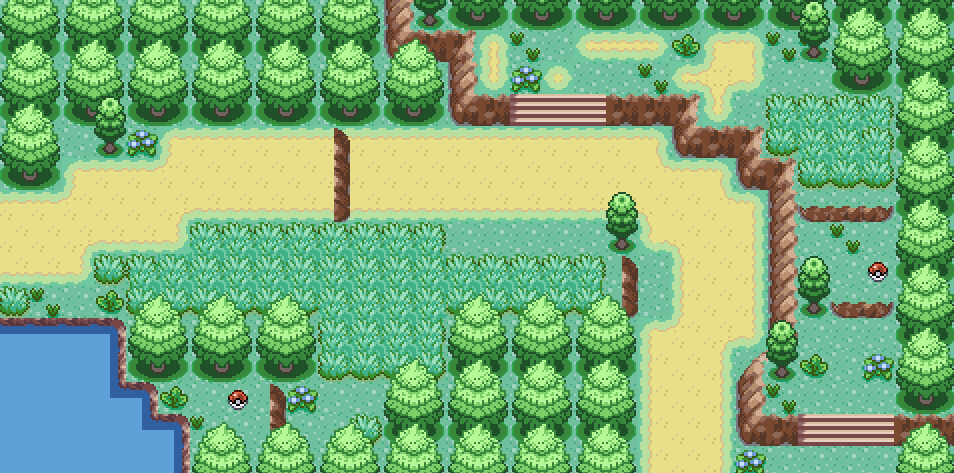
Now that our map is complete in theory, we should pay some attention to detail to make our map visually appealing as well. As they say, variety is the spice of life, so why shouldn’t it be the spice of our maps? Things such as flowers small trees, and bushes can really make your map pop out. Meanwhile, you will notice that our path is very, very straight. An unpaved path like this would not be so perfectly straight, would it? Let’s also break up the path a bit. You’ll find that I used quite a bit of flowers and such; however, you can spice up your map with a much smaller amount.

Now, the path looks more beaten and natural while still clearly showing where to go. This could be a pretty fine map as it is, but there is one more concept I want to cover; hills!
By adding layers of height to our map, we can give it more depth and make our map feel more detailed. Small details like this can make a map great.
We have made a map together, and hopefully you have picked up on some techniques and ideas. Even beyond all this, there are a few tips and tricks you can follow.
- Unless you are going for this kind of feel, do not put a very small amount of open space so that the player feels cramped. However, do not put so much that they feel lost; even in forests, there are trees to act as barriers.
- Make sure each route has something that sets it apart from the others! If every route is similar, it will be hard to make them memorable.
- Make sure that you’re enjoying making your game! If you aren’t having fun, you’ll be less likely to finish!
If you make your maps detailed and functional, they’ll definitely stand out from the crowd. Now that you’ve expanded your knowledge and you have more ideas about mapping, I can’t want to see what the community will present us next!
Edited by bobandbill.